When Restoring to the Same PC Isn’t Enough
Our first guide covered how to restore your environment back to the same machine using Windows tools or EaseUS.
But in the real world, these situations come up constantly:
Scenario 1: A motherboard replacement on a standard PC When a repair swaps your motherboard, Windows sees it as a different computer. Same-PC restore tools install the wrong drivers — and the system won’t boot.
Scenario 2: A GEEKOM chassis replacement (RMA) Because GEEKOM is a mini PC, the standard RMA process means removing your SSD and replacing the entire unit. The replacement may have a slightly different hardware configuration.
Scenario 3: Upgrading to a new PC Moving from a GEEKOM A5 to a newer model — or a different brand entirely. Reinstalling every setting, app, and file by hand takes half a day or more.
All three share one core challenge:
Restoring your entire environment to different hardware.
For freelancers and small businesses, downtime like this is a serious problem. Even half a day without a working PC means work grinds to a halt.
This guide shows you how to solve it in about an hour.
💡 Note: The GEEKOM A5 comes with a 36-month warranty (official store purchases only). RMA details are covered in our first guide. Purchase here → GEEKOM Official Store (Use code GEEKLAB for ¥3,500 off)
What You’ll Learn
- What Universal Restore actually does
- How to restore to a different PC with Acronis
- A backup routine built for small business owners
- Scenario-by-scenario recovery (motherboard swap, chassis replacement, upgrade)
- RMA and warranty: how it all fits together
1. What Is Universal Restore?
Why “restore to a different PC” is hard
Windows checks your hardware configuration at boot. If the motherboard, chipset, or storage controller doesn’t match what it expects, you get a blue screen — and no boot.
This is exactly why Windows’ built-in tools and free backup software can’t restore to different hardware. They preserve the original PC’s driver setup, which breaks on a new machine.
What Universal Restore solves
The Universal Restore feature in Acronis True Image automatically does the following during recovery:
- Detects the new hardware
- Removes incompatible drivers
- Installs the drivers the new machine needs
- Adjusts Windows so it boots cleanly
In short: it makes your backup bootable on a completely different PC.
Comparison: same-PC vs. dissimilar-hardware restore
| Restore Scenario | Windows Built-in | EaseUS Paid | Acronis True Image |
|---|---|---|---|
| Same PC | ✅ Yes | ✅ Yes | ✅ Yes |
| After motherboard swap | ❌ Won’t boot | ⚠️ Limited | ✅ Supported |
| After GEEKOM chassis swap | ❌ Won’t boot | ⚠️ Limited | ✅ Supported |
| New PC (upgrade) | ❌ Won’t boot | ⚠️ Limited | ✅ Supported |
| Ransomware protection | ❌ None | ❌ None | ✅ AI-based |
| Cloud backup | ❌ None | ⚠️ Separate | ✅ Built-in |
💡 Tip: For a freelancer or small business, the biggest risk is downtime. If you can eliminate that risk for around $35–80/year, the value is obvious.
2. How to Restore to a Different PC with Acronis
Step 1: Get Acronis True Image
Acronis True Image (formerly Acronis Cyber Protect Home Office) is the world’s most established consumer backup tool, with built-in Universal Restore.
Step 2: Create rescue media (bootable USB)
Before anything goes wrong, create a rescue USB so you can boot a dead PC.
- Open Acronis → Tools → Rescue Media Builder
- Connect a USB drive (8GB+ recommended)
- Choose “Simple” mode → Create
⚠️ Important: Make the rescue USB now. Waiting until your PC won’t boot is too late.
Step 3: Run a full backup
- Open Acronis → Backup
- Source: select Entire PC (required for Universal Restore)
- Destination: external SSD + cloud (both recommended)
External SSD: for fast local restore Cloud: protection against fire, theft, and physical damage
Recommended external SSD: SanDisk Extreme Portable SSD 1TB Up to 1,050MB/s read · IP55 rated · 5-year warranty 👉 View on Amazon
Step 4: Restore on the new PC
When your new machine arrives:
- Boot the new PC from the rescue USB
- Connect your backup source (external SSD or cloud)
- Select the target disk
- Enable the “Universal Restore” option
- Run the restore
This takes about 30–60 minutes.
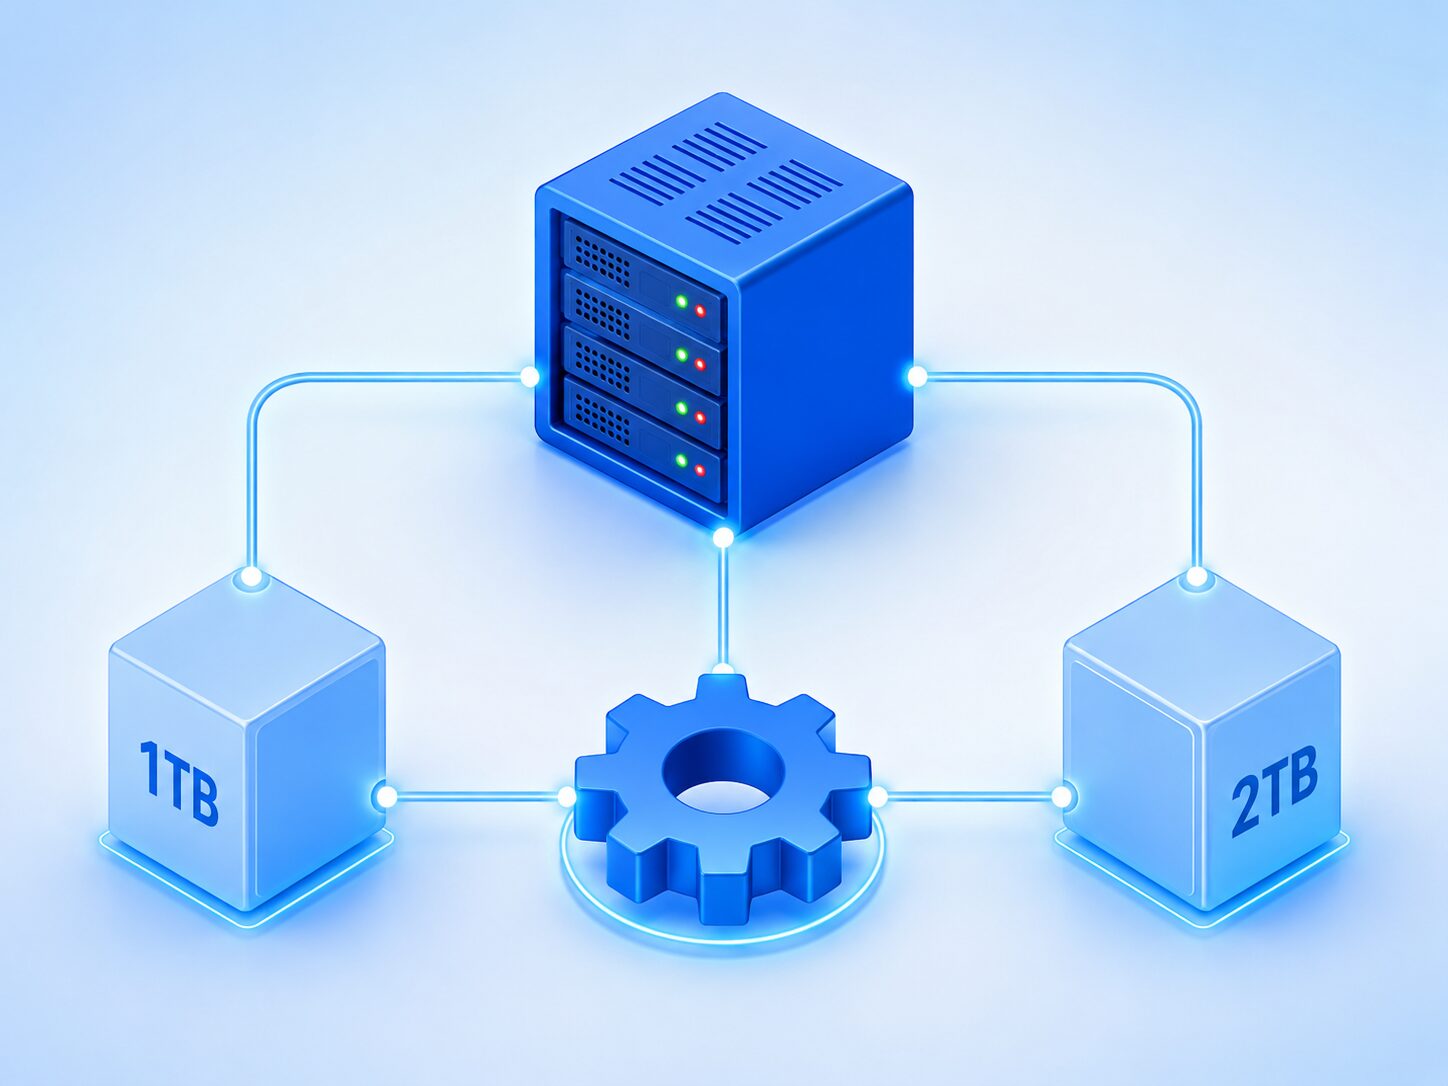
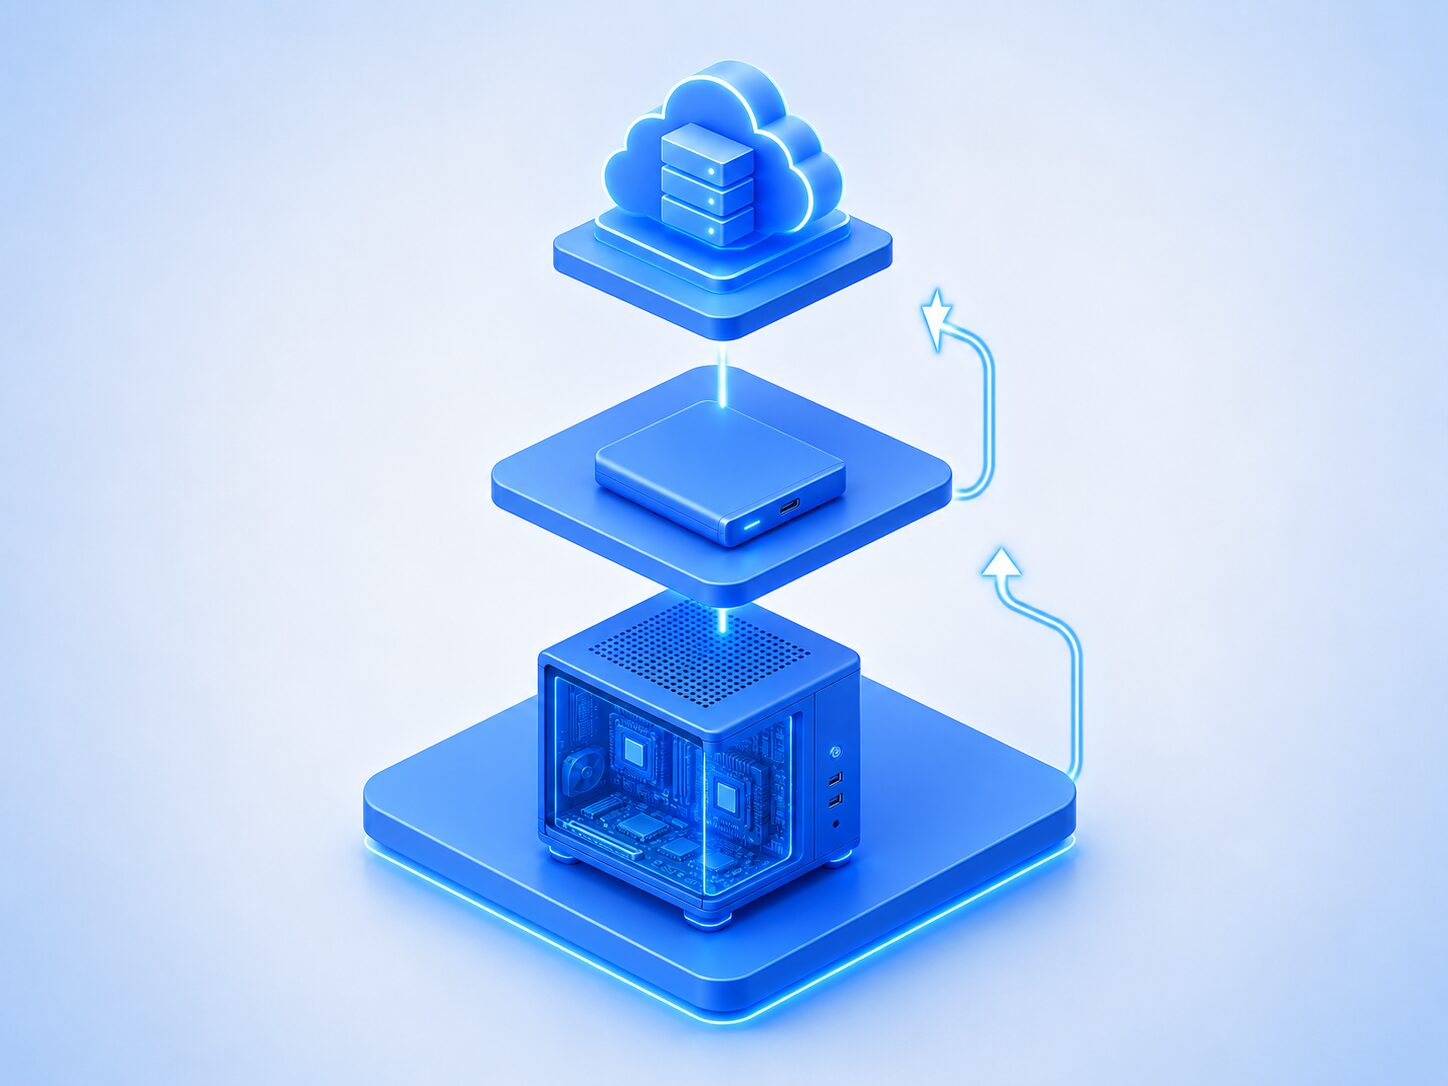
3. A Backup Routine for Small Business Owners
For freelancers and small businesses, different data types need different priorities.
The three-tier backup structure
| Tier | What | Frequency | Where |
|---|---|---|---|
| Tier 1 | Full system image | Monthly | External SSD |
| Tier 2 | Critical data (work files, client info) | Daily | Cloud (Acronis Cloud) |
| Tier 3 | Active working files | Real-time | OneDrive / Google Drive |
Acronis schedule settings
Under “Schedule,” we recommend:
- Monthly full backup (first Sunday, overnight)
- Daily incremental backup (2 AM)
- Retention: keep the last 12 versions
💡 Tip: Incremental backups only save what changed since last time. They’re small and put minimal load on your PC.
4. Scenario-by-Scenario Recovery
Scenario 1: Motherboard replacement on a standard PC
Your repaired PC boots to “BitLocker recovery key required” or “boot device not found.”
- Boot from the rescue USB
- Select your Acronis backup
- Restore with Universal Restore enabled
- Drivers install automatically after first boot
Scenario 2: GEEKOM chassis replacement (post-RMA)
When the new GEEKOM unit arrives, you have two options: reinstall your original SSD, or restore to a new SSD.
Reinstalling your original SSD: It usually boots as-is. Just verify the BIOS settings.
Restoring to a new SSD:
- Connect the rescue USB to the new GEEKOM
- Restore from backup
- Enable Universal Restore (the chassis has changed)
💡 Tip: RMA details and the SSD removal process are covered in our first guide.
Scenario 3: Upgrading to a new PC
The most flexible scenario.
- Take a final backup on the old PC
- Unbox the new PC, complete Windows setup
- Boot from the rescue USB
- Restore with Universal Restore enabled
- Wipe the old PC for trade-in, resale, or disposal
You’ll be back to work on the new PC in about an hour.
5. RMA and Warranty: How It All Fits Together
Before you send the unit back
As covered in the first guide, GEEKOM’s RMA process means removing your SSD and returning the unit only.
But if there’s any chance the SSD itself is failing, an Acronis backup is essential — so you can restore to a fresh drive.
Post-RMA recovery flow
New unit arrives
   ↓
① Reinstall your original SSD → boots as-is
   or
② Buy a new SSD → restore with Acronis (Universal Restore)
   ↓
Back to work (about an hour)
What every small business should have ready
✅ Acronis True Image license
✅ Acronis rescue media (USB)
✅ External SSD (backup destination)
✅ Cloud storage (Acronis Cloud, built-in)
✅ Monthly full + daily incremental schedule
Checklist: Business Continuity Setup
✅ Install Acronis True Image
✅ Create rescue USB
✅ Run a full "Entire PC" backup
✅ Set monthly + daily schedules
✅ Enable cloud backup
✅ Practice the restore process once (important)
Don’t scramble after your PC dies. Build a “back to work in one hour” system now, while everything’s running fine.
Related Articles
- GEEKOM A5 Backup Guide: What to Do Before It Breaks
- GEEKOM A5 2026 Review — 6 Months of Real Use
- GEEKOM A5 UPS Setup — Keep AI Automation Running 24/7
Ready to get your GEEKOM A5? 👉 GEEKOM Official Store Use code GEEKLAB for ¥3,500 off